
Hey folk, do you want to Digma Hit Q401 3G new smartphones? If yes, then this guide is especially for you. This article will guide you in-depth, so after reading this guide, you can easily root your Digma Hit Q401 3G device.
We’ll guide you through three methods to Digma Hit Q401 3G devices, including PC and without PC method. Go with which you feel comfortable.
But before going to the immediate rooting process, you should have information about rooting like Pros and cons after rooting a device, and most asked why you need to root your android smartphone. Soon you’ll get every answer in this article until you stay tuned with us.
Contents
Disclaimer
SafeBoxGuide is not responsible for any kind of loss. The method of rooting in this article only works for a specific device. Don’t try this same Method for another device; if you do, this may be the reason you get brick.
Be careful while rooting your Digma Hit Q401 3G device. I suggest that you read the rooting process at least two times, because if you read this guide two times, then there are fewer chances of mistakes by you.
And last but not least, SafeBoxGuide is neither affiliated with any program nor sponsors any application to mention in this article. we only guide via these applications because these are easy to use and easy interfaces.
What Is Root?
Root allows its users to customize android devices. It gives the administrator access to the user’s hand. By default, your manufacturer doesn’t provide you with permission to do this, but Root allows.
Below mentioned methods also work for Digma Hit Q401 3G, so don’t worry because the manufacturer of this device has the same and almost similar vital features.
Why do you need to Digma Hit Q401 3G?
Behind every work, there is a reason. So before rooting your android device, you should have a proper reason to root your smartphone.
But before going to the next steps, we should be thankful to the TWRP team and xda developers because these things can’t be possible without them.
Whether there are many third-party applications available on the play store, but xda developer and TWRP both are the sign of trust. So you can go with them. Did you enjoy this guide?
As everyone knows, after rooting, smartphones became very fast. But it’s ultimately a myth. Yes, I agree that after rooting, your device would perform better than before.
But It’s not necessary because this process is not as easy as you think. And with a bit of a mistake, your device may brick. Here I guide you with some easy steps to root an android device. If you love to root android phones, then you’ll love this guide. Before going to the next level, Let’s jump to the advantages of rooting.
Merits And Demerits Of Root
Here we’ll guide you to the dangerous things about roots. Let me clear some facts about Root. Yes, Root gives you more functionality to modify your Android device.
In other words, we can say these are the pros of Rooting. Below I mention some Gem points about Root. Let’s start –
Pros and cons are always a big reason to understand the user’s mind. Sometimes users change their mind to root after reading the cons of Root. That’s why I added the excellent Pros and cons of Root for better navigation. Are you guy’s ready to know about the pros and cons?
Pros
Here we talk about some common and significant facts about rooting. Let’s start –
- You can easily customize your android device without facing any problem.
- Install Modified applications and enjoy the pro version for free
- You can install Android 11 Beta Custom ROM.
Cons
Well, there are a bunch of demerits after rooting. So let’s explore step by step.
- First, after rooting, the Digma Hit Q401 3G device warranty would be lost permanently. Mean you can’t claim any hardware warranty against customer care. But if you want to back your device warranty, then you have to unroot your device.
- You can’t use banking applications because banking applications are too secure. So banking applications don’t run on any rooted device. But by using magisk, you can use banking applications without facing any problem. I suggest you download the magisk manager from the official website to use the banking application.
Tips – Implement Before Rooting
These tips are a must; you can’t root your android device without implementing these tips. So I recommend you implement these tips before going to the next step of the rooting process. Steps are –
- Digma Hit Q401 3G bootloaders should be unlocked; unlocking the bootloader is quite an easy process.
- Before rooting, you have to install TWRP recovery on your device,
- The device battery should be charged at least 60%. This step is necessary because sometimes the rooting process takes time, so avoiding stopping the procedure makes sure you set the required % of battery.
Guide To Root Digma Hit Q401 3G via Magisk – 1st Method
This method will help you to root your Digma Hit Q401 3G android device via magisk zip.
Make sure you unlock bootloader first before implementing this method. A PC/Laptop is must to perform these steps.
Steps to Root Digma Hit Q401 3G With PC/Laptop
Follow exact step by step guide –
Extract and Patch boot.image via magisk
- First download the stock firmware. Next you have to download the stock boot image for your device latest version which is installed on your device currently. Next, extract it on your PC/laptop.
- Now connect your device with PC by using USB cable and transfer the extracted boot.img file to your PC/laptop storage.
- Next, download and install magisk manager on your Digma Hit Q401 3G device.
- Open the installed magisk application which you install on above step. Now tap on the install option and then select boot file.
- After selecting the boot file you need to wait a couple of minutes and soon the magisk will start patching the boot image.
- Once it patched successfully. It’ll store in your internal storage automatically.
Flash The Patched boot Image on your device
- You need to transfer the patched boot image file in your PC/laptop from android device.
- Switch off your Digma Hit Q401 3G and boot into fastboot mode.
- Next, open command prompt or PowerShell.
- Now flash the patched boot image and easily Root your device by entering following commands.
- Here’s the commands
fastboot flash boot patched_boot.img - Soon the flashing process will start and after it’ll complete. you need to reboot your device. For reboot you device run this command.
fastboot reboot
Everything is perfect. you successfully root your Digma Hit Q401 3G android device with magisk. If you find anything wrong then repeat these steps may be you missed any step which cause failure in order to root.
Check out this guide to Root Moto E5 Plus device.
Now you can customize your android device as you want. You can install mod apk, change fonts, and do whatever you want. I hope you enjoy this guide and drop down your suggestion in the comment section.
Guide To Root Digma Hit Q401 3G Via KingoRoot App – 2nd Method
This method will help you to Root Your Digma Hit Q401 3G via kingo application. It’ll hardly takes 5-10 minutes if you already installed this application.
Steps To Root Digma Hit Q401 3G Without PC
- Download KingoRoot Application from Playstore
- Open the application and click on “One Click Root.”
- Now, this app will start the Rooting Process.
- Once the whole process is done, you will see a notification that is “Root Succeeded.”
Perfect! Your Digma Hit Q401 3G is rooted now and does whatever you want. Install custom ROM and modify your device as you wish.
Guide To Root Digma Hit Q401 3G via one-click root (Recommended)
This method is most used and successful software to Digma Hit Q401 3G device. This software is paid and over 10000+ devices rooted successfully.
Your device will be root is guaranty. Else 100 % Money refund instantly. Sounds Crazy!
Requirements
- Charge device 30% Battery or more.
- Make sure you have a USB cable.
- A PC/Laptop (May be required)
Steps to Digma Hit Q401 3G Via One Click Root
- First, Go the one click root website – Check Out
- Then Click on Root Now button.
- Next, type your device brand name. Next, type device model number, and tap on next button.
- Now select device version and tap on Verify Root Rootable.
- If your device is rootable then you need to pay the fees and follow their instruction to root your device.
Hope you understand all the steps mention above. Now check out the One Click Root website to implement the process. Believe us rooting more than easy as you think with the help of One Click Root.
Check out this guide to Root ZTE ZMAX (Z970) device.
That’s all! This method of rooting is just like above but with different applications. Now it’s your turn to root your device. Dropdown your root story in the comment section. If you face any problem, then ask your question. We’ll be glad to reply to you.
Our team is ready to help you root your android device remotely. Check out here to know more about Safe Box Guide Experts Appointment.
Guide To Install TWRP Recovery On Digma Hit Q401 3G [Without Root]
- Connect your device with the computer via USB cable or micro USB
- After connecting the device, a message prompt on your device, i.e., “Allow USB debugging?”
- Now click on Always allow from this computer and tap the OK button.
- Before Entering the next step of the process, make sure your device charge at least 70% battery.
- Go to the SDK platform-tools folder on your computer.
- In the white space hold shift + right-click
- A menu will appear “Open command window here,” and a command window will open.
- In the cmd window, Type, ‘
adb devices,” and press enter your device will be listed. - Type “
adb reboot bootloader” and press enter your device will enter bootloader mode. - Type in the command window “
fastboot flash recovery TWRP.img” if your TWRP.img with another name, then change the entry for your corresponding device. - Finally, type in the command window “
fastboot boot TWRP.img” ( Make sure it is correct because, on your pc, this file name would be different )
Your device will begin to boot again, and the Team win logo will appear and begin to install. Congrats, you have installed TWRP Recovery on your Android Device without rooting. Have you enjoyed this article? Comment below your feedback.
Steps To Check Root Status
Check Root status Of Digma Hit Q401 3G
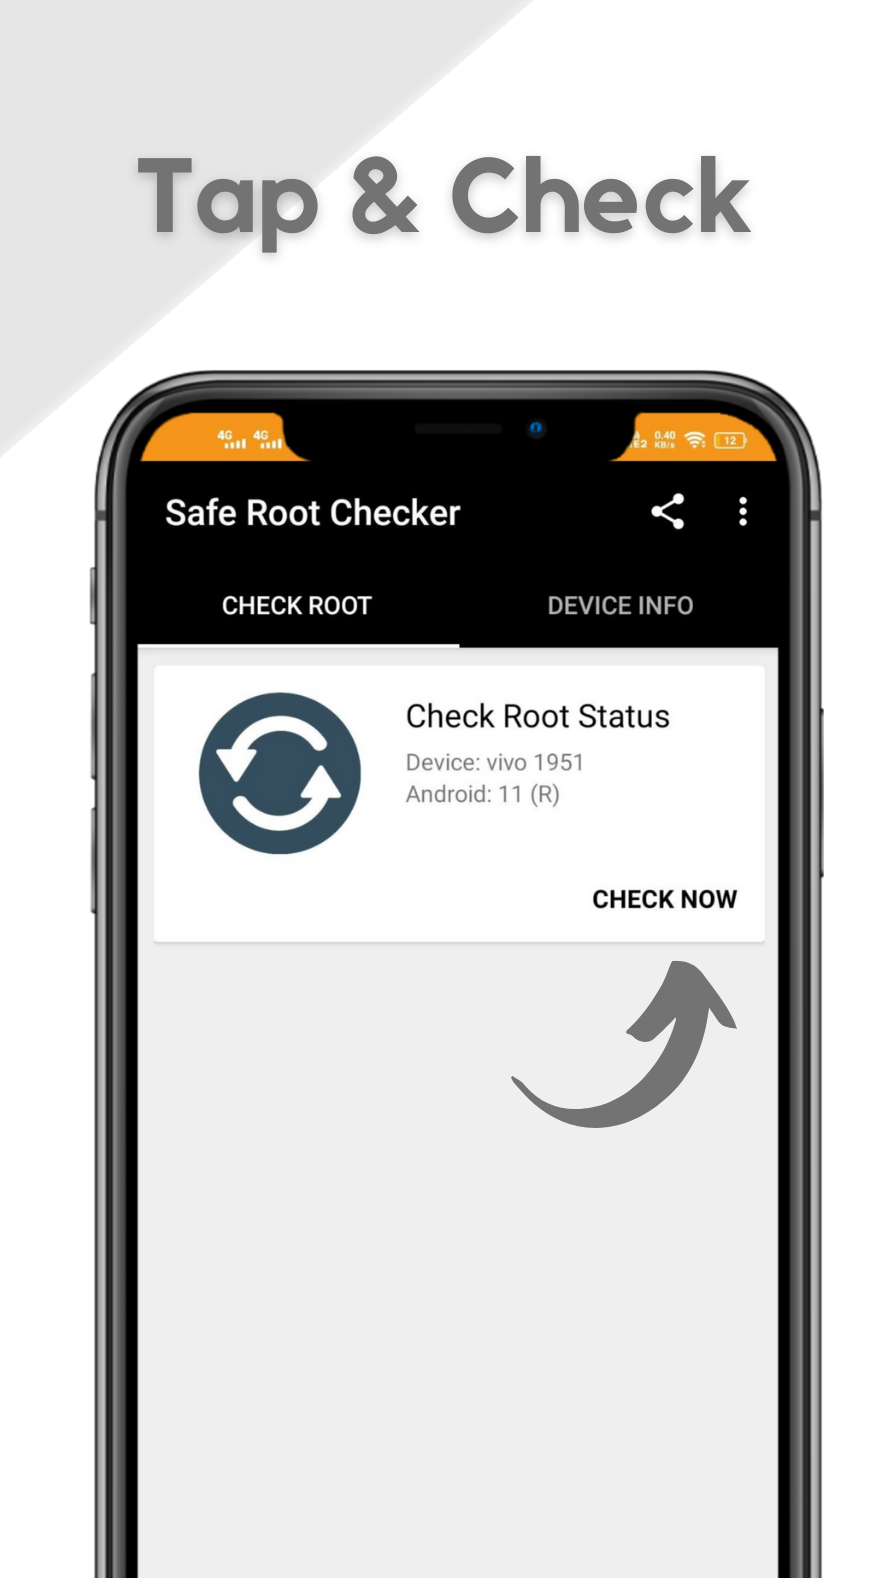
- Download Safe Root checker App – Check out here
- After installing properly, Next open application.
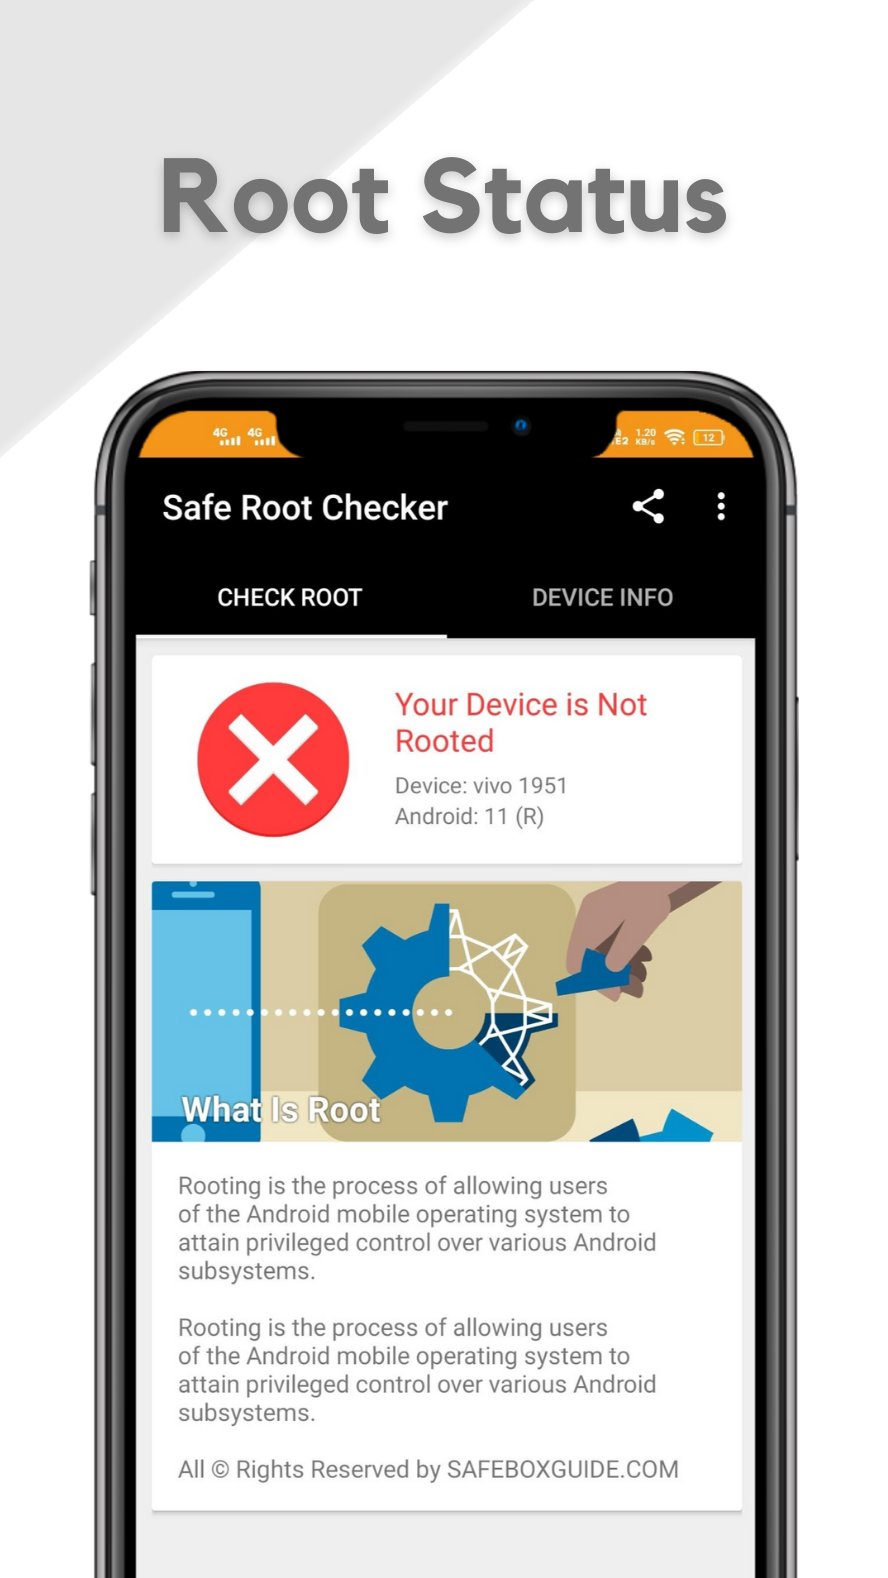
- Next, Tap on “Check Now” If your device is rooted then it will show you the messages i.e “Congratulations! Root access is properly installed on this device” Else you’ll get a message that “Your Device Is Not Rooted”
Isn’t it’s too much simple and time saving application.
For more clearance below we added the infographics to show you how it looks like. The first screenshot show you tap on the verify button and the second one shows you that your device is rooted. I hope you enjoy this guide. Drop down your thoughts on the comment box for more suggestions.
Still want more information about safe root checker. Then make sure you check out the Safe Root Checker official released post here.
Conclusion
We don’t verify these methods of rooting. (Read disclaimer first) Choose any one way to Digma Hit Q401 3G devices.
If you don’t have a PC, you can use the Digma Hit Q401 3G’s PC method. I hope it helps.
In case you want to check whether your android device is rooted of not after following this method then follow the below mention steps.
FAQ (Frequently Asked Question)
How to Digma Hit Q401 3G without PC?
First, Open Mobile settings. Next Search security option. Now Enable to Unknown Sources. Download the one-click root app and install it safely. Now Open and click on Root Device. Now the rooting process will start once your device roots; then, you’ll get notified. I.e., Root successfully.
How to Digma Hit Q401 3G with PC?
You have to download the Magisk.zip file on your Digma Hit Q401 3G. Now Boot Device on recovery mode by pressing Volume Down + Power Button. Done! Now Click On install and find the Magisk.zip file in ROM and select it. Now click on to confirm Flash Next; the flashing process is done directly by tapping on Reboot. Congrats, you have successfully Rooted Digma Hit Q401 3G.
Can I Install TWRP Recovery On Digma Hit Q401 3G without Root?
Yes, you can install twrp recovery on Digma Hit Q401 3G android device by using the PC method. But if you want to install twrp recovery via twrp official application, then you have to root the Digma Hit Q401 3G device before installing the recovery.
Can I Install Custom ROM on Digma Hit Q401 3G device?
Yes, Once you have installed twrp recovery on your device (Or Root your Digma Hit Q401 3G device.) Then you can easily install any compatible ROM on your Digma Hit Q401 3G device without any issue.