
Welcome Back to Safe Box How-to guide. In this article, I’m going to show you how to Root Samsung Galaxy A20.
The rooting process of every Samsung device is different. In the last article, we discuss how to Root Galaxy A50 device, which is much popular and many people show good interest. So after writing that article, I think I should write about the Rooting Method of the A20 device.
But Before going to the exact step-by-step process make sure you know what is Root and how it works. How much Root beneficial for you. So I’m here to complete describe you. First, I’ll mention some key features of Samsung Galaxy A20. Let’s start-
Contents
Disclaimer
SafeBoxGuide is not responsible for any kind of loss. The method of rooting in this article only works for a specific device. Don’t try this same Method for another device; if you do, this may be the reason your device get brick.
Be careful while rooting your Asus device. I suggest that you read the rooting process at least two times, because if you read this guide two times, then there are fewer chances of mistakes by you.
And last but not least, SafeBoxGuide is neither affiliated with any program nor sponsors any application to mention in this article. I only guide via this application because these are easy to use and easy interface.
Key Features Of Samsung Galaxy A20
These are some popular key features of this device. Make sure you read this complete keys.
| Display | 6.5 inches, 103.7 cm2, IPS LCD capacitive touchscreen |
| Battery | Non-removable Li-Po 4000 mAh battery, Fast Charging 15W |
| Memory | microSDXC , 32GB 3GB RAM, 64GB 4GB RAM |
| Camera | 13 MP, f/1.8, 27mm (wide), PDAF 8 MP, f/2.2, 13mm (ultrawide), 1/4.0″, 1.12µm 5 MP, f/2.2, (depth) |
| Selfie Camera | 8 MP, f/2.0 |
| Sensors | Fingerprint (rear-mounted), accelerometer, gyro, proximity, compass |
| OS / Chipset /CPU /GPU | Android 9.0 (Pie)/ Qualcomm SDM450 Snapdragon 450 (14 nm) / Octa-core 1.8 GHz Cortex-A53 / Adreno 506 |
What Is Root?
Root Allows its users to customize android devices. In other words, you can say that Root gives you complete Privilege in users’ hands. By rooting you can do lots of things. Install Custom ROM, install Mod applications, and a lot more stuff which we’ll talk about below.
Pre-Requirements For Rooting Samsung Galaxy A20
There are some requirements before rooting the Galaxy device. Without following these requirements you can’t root your Samsung Device. Make sure you make the checklist to remember all the requirements. Let’s start-

- Unlock Galaxy A20 Bootloader
- Enable Developer Option
- Charge device at least 60-70%
- Make sure you have a PC/Laptop
Follow all mention steps for accuracy. Keep it in mind without following these points you’ll not be able to Root your Samsung Device. Below we’ll talk about some pros and cons of Rooting Android device.
Believe this will change your mind to Root. Might be possible that these pros help you to make the decision whether you need to Root your Galaxy device or not.
Pros Of Rooting Samsung Galaxy A20
Rooting a Galaxy device gives you lots of benefits. Which we’ll talk below, I’m sure after reading these merits you’ll definitely Root your Galaxy device so let’s start-
- Install Custom ROM
- You can Install TWRP Recovery
- Remove device Bloatware
- Uninstall Pre-installed application
- Install MOD application
- Install any unknown application without any security warning
- Update your android version
Install MOD application is the most loved feature of many users but it’s not necessary that you have to Root your device for install MOD apk. By disabling the security feature of your galaxy device you can install MOD application. But Root enhance your experience.
Cons Of Rooting Samsung Galaxy A20
The root contains a lot of negative points. And it’s our duty to explain to you all the demerits. so before rooting you’ll keep it in mind all the cons. And I’m pitty sure many people drop there the idea of rooting their Samsung device after reading these points. So let’s start-
- Device warranty will be lost completely
- Your Samsung device shows some unusual behavior
- You can’t use banking application
- The device will no longer secure
The first point is enough to stop you to drop the decision to Root your android device. Because you won’t be able to claim the device warranty once you root. I hope you understand what message we want to deliver with you.
Check Out a brief guide to unroot Galaxy A20 android device. This will help you to unroot your Samsung Galaxy A20 with and without PC safely.
Guide To Root Samsung Galaxy A20
Magisk always comes first, when we talk about Root. You guys know that safeboxguide always recommends magisk because this is most trusted, easy, and safe.
Mostly Root users face the problem i.e Banking application not working. But magisk is different by using magisk you can use banking application. Magisk hide the Root status from your banking app. As a result you can use banking app. Isn’t is interesting?
- Download the Magisk.zip on Galaxy A20
- Boot Galaxy Device in recovery mode by holding Volume Down + Power Button
- Next, Tap On install and select the downloaded Magisk.zip file
- Click on to confirm Flash
- Now the Rooting process will be done
- Finally, Reboot your Galaxy device
- Congrats! Root successful. You have successfully rooted your galaxy device by using magisk.
So this is the step-by-step process to Root your Samsung device. Make sure you follow the step by step process to increase the success rate.
Our team is ready to help you root your android device remotely. Check out here to know more about Safe Box Guide Experts Appointment.
Steps To Check Root Status
Check Root status Of Galaxy A20
- Download Safe Root checker App – Check out here
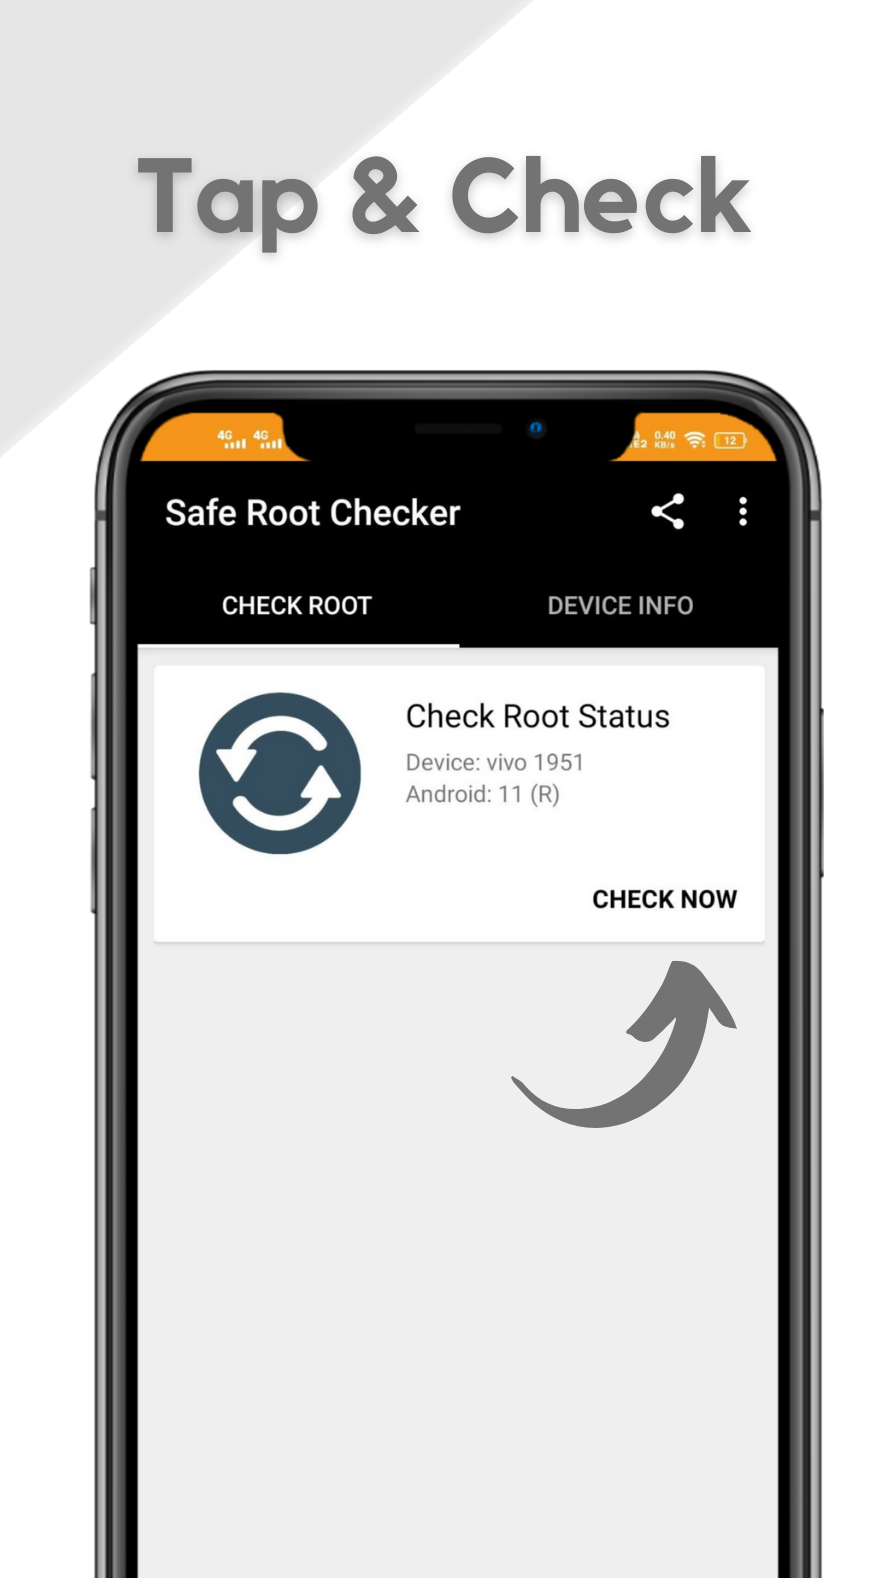
- After installing properly, Next open application.
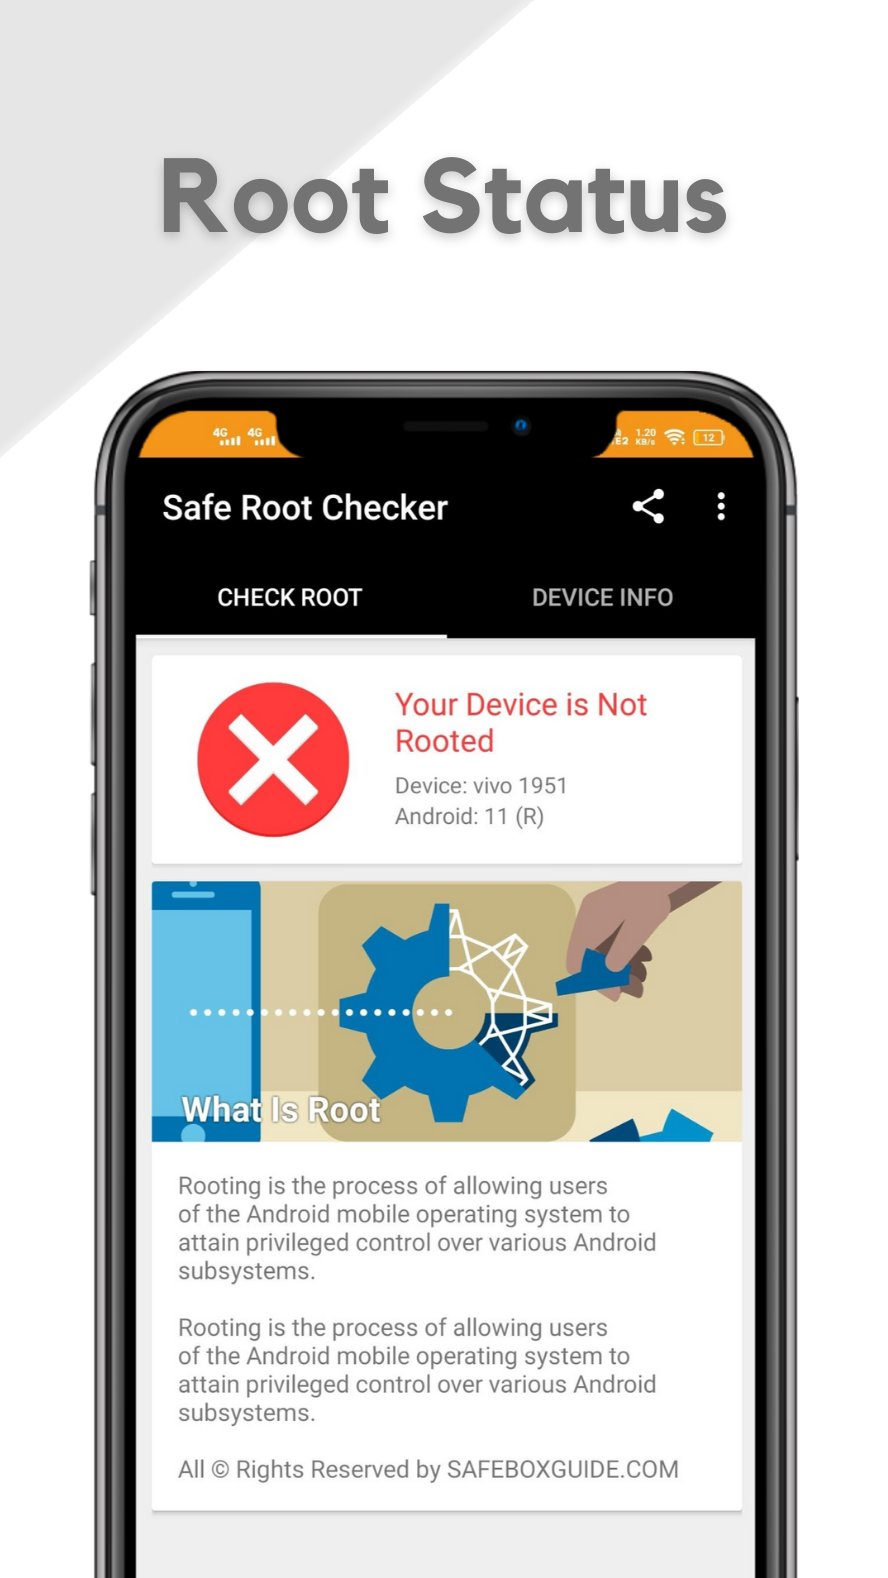
- Next, Tap on “Check Now” If your device is rooted then it will show you the messages i.e “Congratulations! Root access is properly installed on this device” Else you’ll get a message that “Your Device Is Not Rooted”
Isn’t it’s too much simple and time saving application.
For more clearance below we added the infographics to show you how it looks like. The first screenshot show you tap on the verify button and the second one shows you that your device is rooted. I hope you enjoy this guide. Drop down your thoughts on the comment box for more suggestions.
Still want more information about safe root checker. Then make sure you check out the Safe Root Checker official released post here.
Related Articles
This s the most interesting section of this article because it contains the related article which helps you to Root your device. Here we add only the Samsung device rooting guide.
Summary
This article is completely dedicated to guiding you on how to Root Samsung Galaxy A20. Above we already discuss with two different methods to root galaxy devices. If you have any doubt then drop your query in the comment section. We’ll reply as soon as time allows us.
Stay home Stay Safe.