
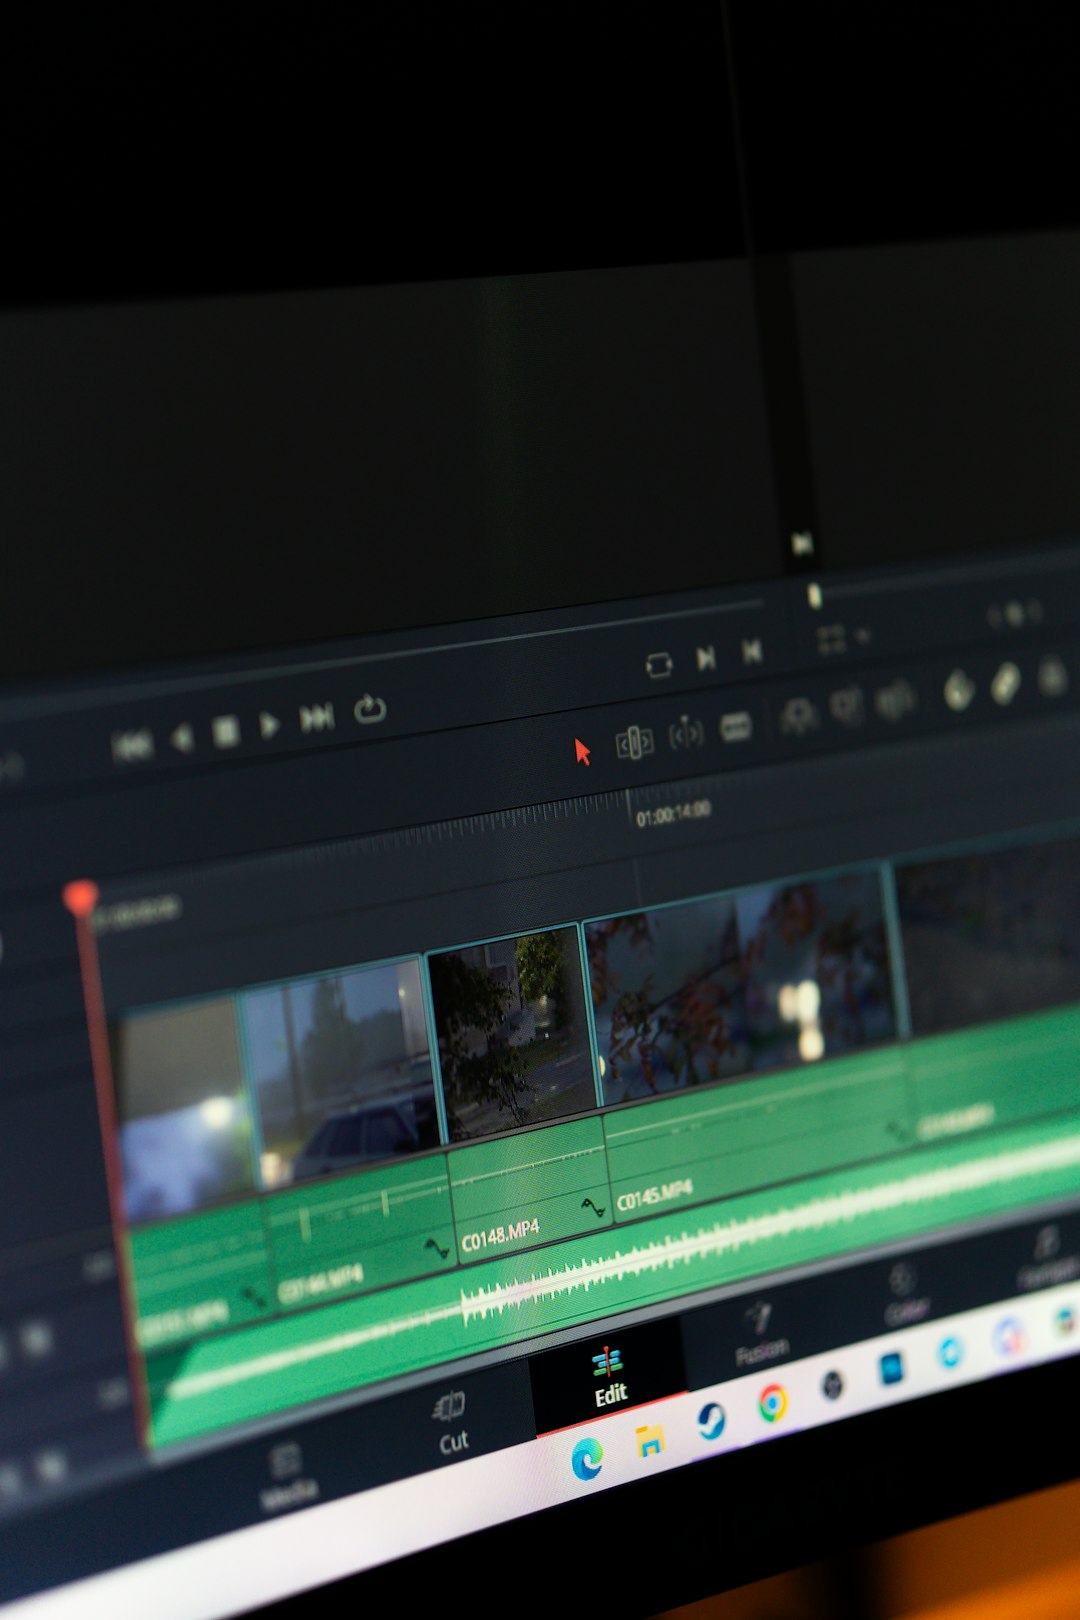
Few things are more frustrating in post-production than watching your timeline stutter, freeze, or buffer endlessly in the middle of an edit. DaVinci Resolve is a powerful and demanding piece of software, and while it delivers industry-leading color grading and editing tools, it can also push hardware to its limits. Buffering issues are not always caused by one single problem; they typically result from a combination of hardware, software, codec, and project settings.
TLDR: DaVinci Resolve buffering usually occurs due to insufficient hardware resources, high-resolution footage, heavy effects, or incorrect project settings. Most problems can be fixed by enabling optimized media, lowering timeline resolution, updating GPU drivers, and adjusting playback settings. In more demanding projects, upgrading RAM, storage speed, or GPU may be necessary. Systematic troubleshooting is key to restoring smooth playback.
Contents
Understanding Why DaVinci Resolve Buffers
Before jumping into fixes, it is important to understand what buffering actually means in the context of video editing. Buffering occurs when your system cannot process video frames fast enough for real-time playback. Resolve pauses or lags because it is waiting on one or more of these components:
- CPU – Handles decoding, processing effects, and general system tasks
- GPU – Manages color grading, Fusion effects, and GPU-accelerated processes
- RAM – Stores temporary data during playback
- Storage Drives – Deliver footage to your system quickly enough
If any one of these components becomes a bottleneck, playback buffering begins.
Common Causes of Buffering in DaVinci Resolve
1. High-Resolution Footage
Working with 4K, 6K, or 8K video files puts tremendous strain on your system. Even powerful machines can struggle when playing multiple streams or applying effects. RAW formats and high bitrate codecs increase the workload even further.
2. Large or Complex Projects
Projects with multiple video tracks, transitions, heavy color grading, noise reduction, or Fusion compositions demand additional processing power. While Resolve is optimized for professional workflows, extreme project complexity can easily overwhelm mid-range systems.
3. Insufficient RAM
DaVinci Resolve is memory-intensive. For smooth operation:
- 16GB RAM is considered the minimum
- 32GB is recommended for 4K editing
- 64GB or more is ideal for Fusion and advanced color work
When RAM runs out, playback becomes unstable and buffering increases significantly.
4. Slow Storage Drives
Editing directly from a slow HDD (hard disk drive) is one of the most common causes of buffering. High-resolution video files require fast read speeds. If your drive cannot deliver data quickly enough, timeline playback will pause repeatedly.
5. Outdated GPU Drivers
Resolve relies heavily on your GPU. Running outdated drivers can cause performance instability, memory leaks, and inefficient rendering calculations.
6. Incorrect Playback Settings
Sometimes, the problem is not hardware but configuration. If timeline resolution is set higher than necessary or optimized media is disabled, buffering may occur even on capable systems.
Proven Fixes for DaVinci Resolve Buffering
1. Enable Optimized Media
One of the most effective fixes is generating optimized media. This creates lower-demand proxy versions of your original files.
- Go to Project Settings
- Select Master Settings
- Adjust Optimized Media Format
- Right-click clips and choose Generate Optimized Media
This significantly reduces system strain during playback.
2. Lower Timeline Resolution
You can edit comfortably in 1080p even if your final output is 4K or higher.
- Open Project Settings
- Change Timeline Resolution to 1920×1080
- Switch back to original resolution before final export
This small adjustment often eliminates buffering instantly.

3. Use Proxy Media
Proxy workflows have become standard in professional environments. Instead of editing full-resolution RAW files, proxy files act as lightweight substitutes.
To create proxies:
- Select media in the Media Pool
- Right-click and choose Generate Proxy Media
This method is particularly useful for long-form content creators and documentary editors working with large file libraries.
4. Enable Render Cache
The render cache automatically pre-renders complex sections of your timeline.
- Go to Playback
- Select Render Cache
- Choose Smart or User
Red bars above the timeline indicate clips that need rendering. Once cached, playback should run smoothly.
5. Update GPU Drivers
Visit your GPU manufacturer’s website (NVIDIA, AMD, or Intel) and download the latest Studio or recommended drivers. Studio drivers typically offer better stability for creative applications than gaming drivers.
6. Close Background Applications
Web browsers, cloud sync services, and other active programs consume CPU and RAM resources. Before editing:
- Close unnecessary applications
- Disable startup programs you do not need
- Pause file synchronization tools temporarily
This frees up system resources for Resolve.
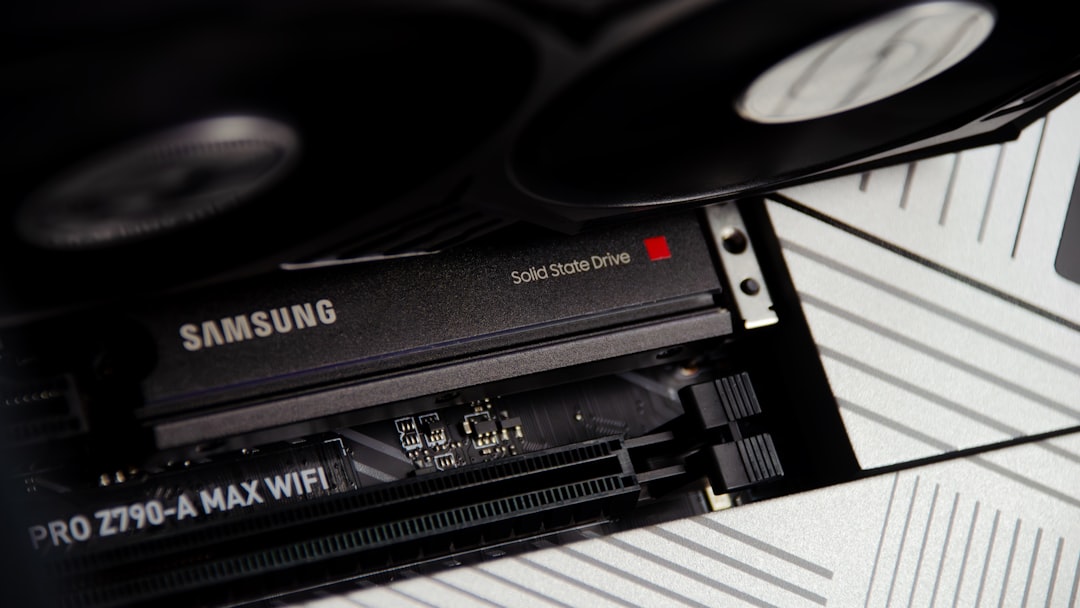
7. Move Media to an SSD or NVMe Drive
If you are working from a mechanical hard drive, consider upgrading to an SSD or NVMe drive. The difference in read speed can dramatically improve playback fluidity.
- HDD average speed: 80–160 MB/s
- SATA SSD: 500–600 MB/s
- NVMe SSD: 2000–7000+ MB/s
For best results, use separate drives for your operating system, project files, and cache.
Advanced Performance Optimization
Adjust GPU Processing Mode
Inside Preferences > Memory and GPU, verify that GPU processing mode is correctly configured (CUDA for NVIDIA, OpenCL for AMD). Incorrect settings may prevent Resolve from using your GPU efficiently.
Reduce Noise Reduction Usage
Temporal noise reduction is extremely GPU-intensive. If buffering occurs after applying it:
- Disable noise reduction during editing
- Apply it only before final rendering
- Cache affected clips
Limit Fusion Effects While Editing
Fusion compositions can dramatically slow playback. Consider pre-rendering complex Fusion clips or turning off heavy nodes until final output.
Check Disk Cache Location
Ensure that your cache files are stored on a fast SSD rather than a slow HDD. This setting is found under Project Settings > Working Folders.
When Hardware Upgrades Become Necessary
If you have implemented all software optimizations and buffering persists, your system may simply be underpowered for your project demands.
Consider upgrading if:
- You consistently edit 4K or higher resolution footage
- You rely heavily on Fusion and advanced grading
- You experience frequent GPU memory errors
Priority upgrade recommendations:
- GPU – Most important for Resolve performance
- RAM – Especially below 32GB
- Storage – Switch to NVMe
A balanced system always performs better than one strong component paired with weaker ones.
Best Practices to Prevent Future Buffering
Prevention is more effective than troubleshooting. Professional editors use structured workflows to avoid performance issues altogether.
- Organize media before importing
- Convert problem codecs to editing-friendly formats
- Use proxies from the start for high-resolution projects
- Maintain at least 15–20% free drive space
- Regularly update Resolve and system drivers
Establishing a consistent media management and optimization routine will save hours of frustration in the long term.
Final Thoughts
DaVinci Resolve buffering issues can feel disruptive, but they are rarely mysterious. In most cases, they stem from predictable causes: insufficient hardware, inefficient codecs, heavy effects, or incorrect project settings. By working methodically through playback configuration, optimized media, render caching, and hardware evaluation, you can restore smooth editing performance.
Professional-grade software demands professional-grade workflows. When optimized correctly, DaVinci Resolve delivers exceptional performance and stability—even with demanding projects. Address the bottlenecks carefully, and buffering will become a manageable, solvable issue rather than a recurring obstacle.