
Ever watched a video and thought, “Whoa! What just happened?” Sometimes things go by too fast, and you wish you could slow them down. Whether you’re making a tutorial, a funny edit, or just want to highlight a cool moment, slowing down part of a video can make a big difference. Good news — it’s not hard at all!
In this fun and simple guide, we’ll walk you through exactly how to slow down part of a video without needing to be a tech genius. Ready? Let’s do this step-by-step!
Contents
Step 1: Pick Your Tool
First, you need a video editor. There are lots of free and easy ones out there:
- CapCut (great for beginners on mobile)
- iMovie (perfect for Mac users)
- Clipchamp (easy browser tool by Microsoft)
- DaVinci Resolve (for more advanced editing)
Pick the one that feels right for you. No stress — they all can slow down videos!
Step 2: Import Your Video
Open your chosen editor and load your video.
Usually, there’s a big button that says “Import” or “Add Video”.
Click it. Find your video file. Let it load.
Boom — you’re ready for the fun part!
Step 3: Decide What Part to Slow Down
Now watch your video. Find that precise moment you want to make slo-mo magic.
Might be a dance move, a fail, or an epic jump.
Make note of where it starts and ends. Most tools will show you the timeline with seconds or frames. Perfect for precision.
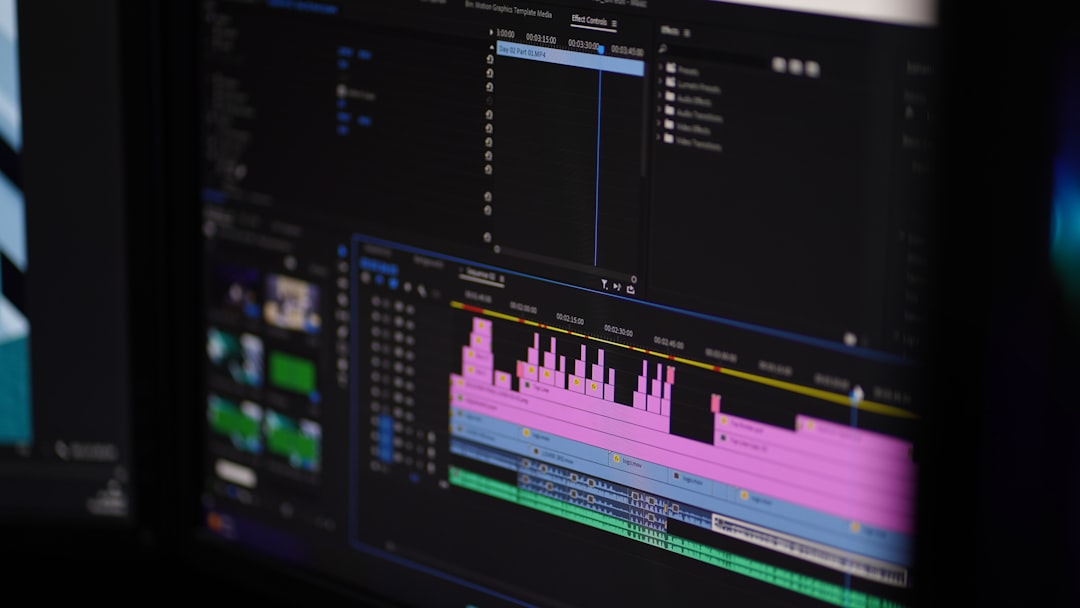
Step 4: Split the Clip
To slow down part of the video, you need to isolate that section.
Use the “Split” tool (sometimes called cut or scissors) to slice your video:
- Split at the start of the section you want to slow down.
- Split again at the end of that section.
Now you have three parts: before the moment, the moment itself, and after.
Step 5: Apply the Slow Motion
Click on the middle part — the part you want slowed down.
Look for an option like “Speed” or “Playback Rate”. Every editor calls it something slightly different.
Set the speed to something like 0.5x or even 0.25x. That means your clip will play at half or a quarter of the normal speed. Nice and slow!
Preview it. You’ll probably say, “Whoa, that’s soooo cool.”
Step 6: Smooth It Out
Some video editors offer “optical flow” or “motion blur” options to make your slow motion look smoother. Check the settings.
If your video looks choppy — try enabling that feature.
Still looks great without it? Awesome! You do you!
Step 7: Export Your New Video
Time to save your masterpiece!
Click the “Export” button (sometimes called “Render” or “Save Video”).
- Choose a name
- Select a video quality (720p or above looks really nice)
- Wait for it to finish
And ta-da! Your slow-motion video is ready for the world.
Final Tips to Make It Pop
- Add cool music or dramatic sound during the slow part
- Put some text like “Wait for it…” right before it happens
- Share it with your friends or post it online for extra high-fives!
That’s It!
You just learned how to slow down any part of a video like a pro.
Video editing doesn’t have to be scary or boring. With the right tools and a little creativity, you can make anything look cool in slow motion.
Now go experiment, have fun, and slow things down!