
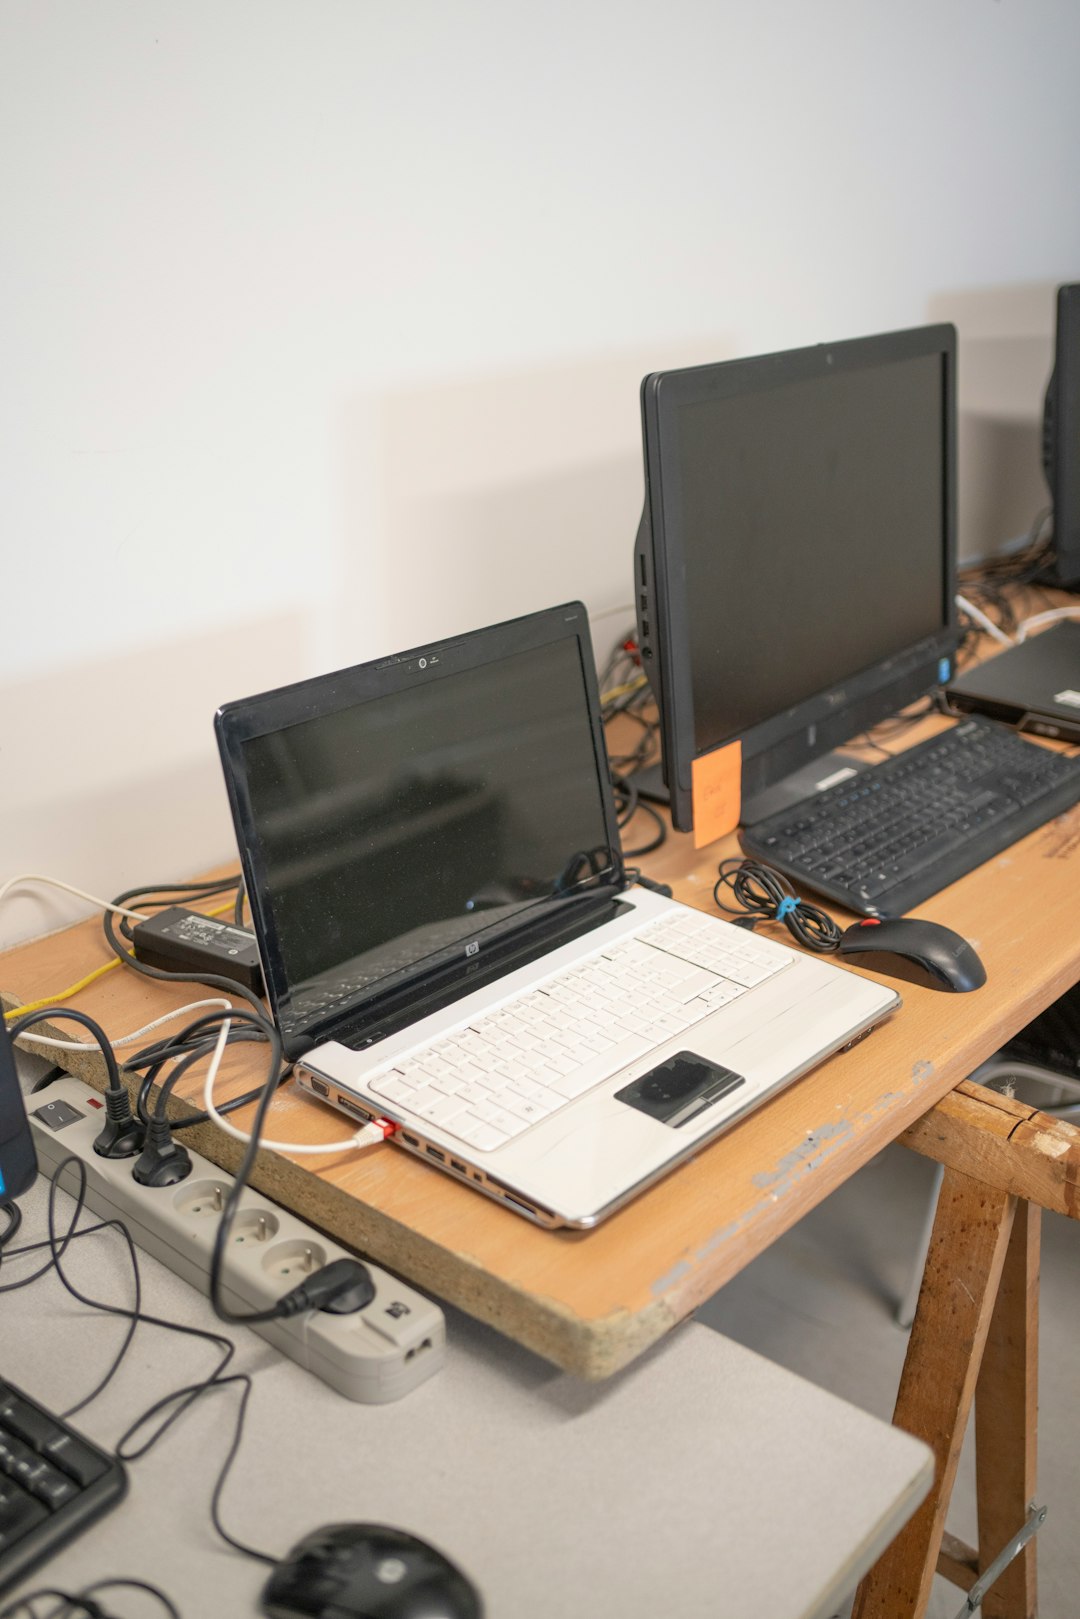
We’ve all been there: tangled cords, mystery cables, and power strips balancing precariously behind the desk. In today’s high-tech world, with dual monitors, streaming devices, phone chargers, and more, it’s easy for a simple workstation to turn into a chaos zone of cables. But fear not—cable clutter isn’t inevitable. With focus, the right tools, and a systematic plan, you can transform your workspace from cable catastrophe to sleek and organized in just six steps.
Contents
Why Cable Management Matters
Good cable management isn’t just about looks. A tidy setup offers multiple benefits:
- Improved productivity: A clean space allows you to focus.
- Safety: Fewer chances of tripping over or damaging cables.
- Longevity: Proper routing extends the life of your equipment and cords.
- Easy troubleshooting: Identify and swap out faulty cables faster.
Now that we understand the value of efficient cable routing, let’s dive into the 6 steps that will take your workspace from chaos to clean.
Step 1: Audit and Purge
Before any cable gets strapped down, you need to take stock. Unplug everything and lay out all devices and their cables. This gives you a fresh canvas and a full view to work from.
- Label cables if they aren’t already labeled — this will save you countless headaches in the future.
- Get rid of unnecessary components. Dead chargers, duplicate HDMI cords, and aged USBs that no longer serve you? Time to let them go.
- Group devices by function. This makes routing more logical and efficient later on.
This step alone often makes a significant difference. Decluttering your cables is the first step toward decluttering your mind.
Step 2: Plan Your Layout
Don’t start plugging things in just yet. Think strategically about where each device lives on your desk. Ask yourself:
- Where’s the nearest wall outlet or surge protector?
- Which devices need frequent plugging/unplugging?
- Which wires need slack for movement (e.g., headphones, mouse)?
You might even consider sketching out or photographing your desired layout. Visualization helps preempt issues like cables being too short or tangled in other equipment.
Step 3: Mount Power Strategically
One of the most overlooked tips is to mount your power strip or surge protector where it’s accessible but discreet. For most people, this means attaching it underneath the desk or to the back of a leg using adhesive or brackets.
Why this works:
- Reduces cables running down to the floor
- Frees up valuable floor space
- Keeps plugs closer to devices
When mounting, make sure it’s still easy to access so you can add or remove plugs as your setup evolves.
Step 4: Route Cables with Purpose
Now comes the satisfying part: intentional routing. You’ll want to use a mix of methods here.
- Under-desk trays: These are great catch-alls for power bricks and thick cables.
- Cable raceways: Use these along the back of your desk to hide and guide cables horizontally.
- Cable clips: Stick these along the desk edge to keep small cables like USBs or headphone jacks accessible and in place.
- Velcro straps or zip ties: Bundle and secure extra cable length. If you expect to adjust cabling often, go for Velcro for easy re-use.
Pro Tip: Route your cables against the natural structure of your desk. This means following edges or support beams where cables can be hidden or protected.
Step 5: Provide Slack and Flexibility
While a tight and clean cable setup looks amazing, it shouldn’t compromise functionality. Devices that move — such as adjustable monitors, height-adjustable desks, or peripherals like headphones — need a bit of slack in their cables.
Here’s what to consider:
- Create loops of extra cable behind devices where flexibility is needed.
- Use spiral wraps to bundle moveable cables together without limiting flex.
- Test your setup: Before finalizing everything, raise and lower your standing desk or move peripherals around to ensure the cables don’t tug or strain.
Over-tightened cables are more likely to wear out, and you definitely don’t want a monitor toppling because it was pulled off its base!
Step 6: Label and Maintain
You’re almost there. Now, let’s future-proof your cable management with some thoughtful finishing touches:
- Label each end of every cable. Tags, colored tape, or even a simple naming convention with a label maker goes a long way.
- Keep spare Velcro straps and organizers handy for modifying your setup later.
- Do monthly spot checks: Just five minutes to ensure everything still looks great and functions correctly.
You’ve worked hard to create a polished setup—don’t let “set it and forget it” sabotage your pristine system.
The Finishing Touch: Aesthetic Boost
With functionality nailed, why not take it a step further with aesthetic improvements? Use color-coded cables that match your desk setup or wrap cables in fabric sleeves for a uniform look. If your equipment glows, complement the lighting with your new clean cable arrangement.

A visually pleasing environment fuels creativity and motivation. Every time you sit down at your neatly organized desk, you’ll feel the difference.
Conclusion: Less Clutter, More Clarity
Cable clutter is more than a minor annoyance; it can impact your productivity, safety, and device longevity. But you don’t need to be a technical wizard to conquer it. With a realistic plan and a few simple tools, you can reclaim your workspace in just six manageable steps.
So go ahead—roll up your sleeves, untangle those cords, and give your desk the makeover it deserves. Future-you will thank you every time you power up your streamlined, cable-free setup.
From chaos to clean—one route at a time.