Precision editing is one of the foundational skills that separates amateur videos from polished, professional productions. In DaVinci Resolve, knowing how to split clips effectively allows you to control pacing, refine storytelling, and eliminate mistakes with surgical accuracy. While the act of cutting footage may seem simple, mastering the technique requires understanding tools, shortcuts, timelines, and workflows.
TLDR: Splitting clips in DaVinci Resolve is more than pressing a keyboard shortcut. Professionals use the Blade tool, timeline shortcuts, and precise trimming techniques to maintain flow and control. Understanding timeline behavior, track targeting, and ripple edits prevents common mistakes. With proper use of these tools, you can edit faster and achieve cleaner, more cinematic results.
Contents
Understanding the Importance of Splitting Clips
At its core, splitting a clip allows you to remove unwanted parts, rearrange sequences, add transitions, adjust timing, and create dynamic edits. Poor cuts can feel abrupt and distracting, while strategic cuts enhance rhythm and narrative clarity.
When you split a clip correctly, you gain control over:
- Pacing – Removing pauses or tightening dialogue.
- Continuity – Ensuring smooth visual flow between scenes.
- Story emphasis – Highlighting key moments with intentional timing.
- Audio synchronization – Adjusting sound independently when necessary.
The difference between a basic cut and a professional edit often lies in precision and awareness of context.
Getting Started: The Timeline Interface
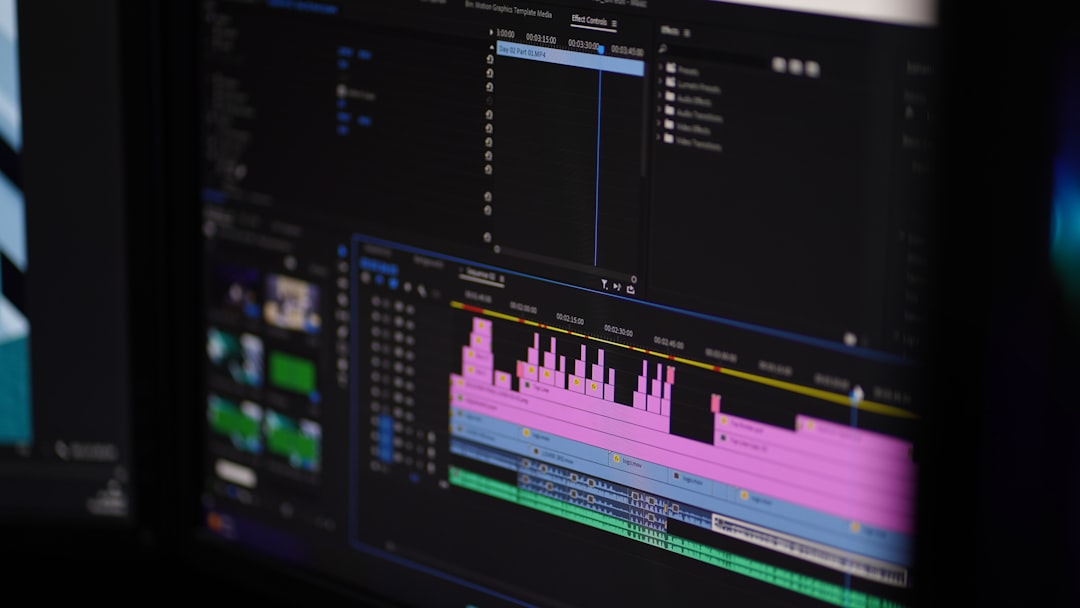
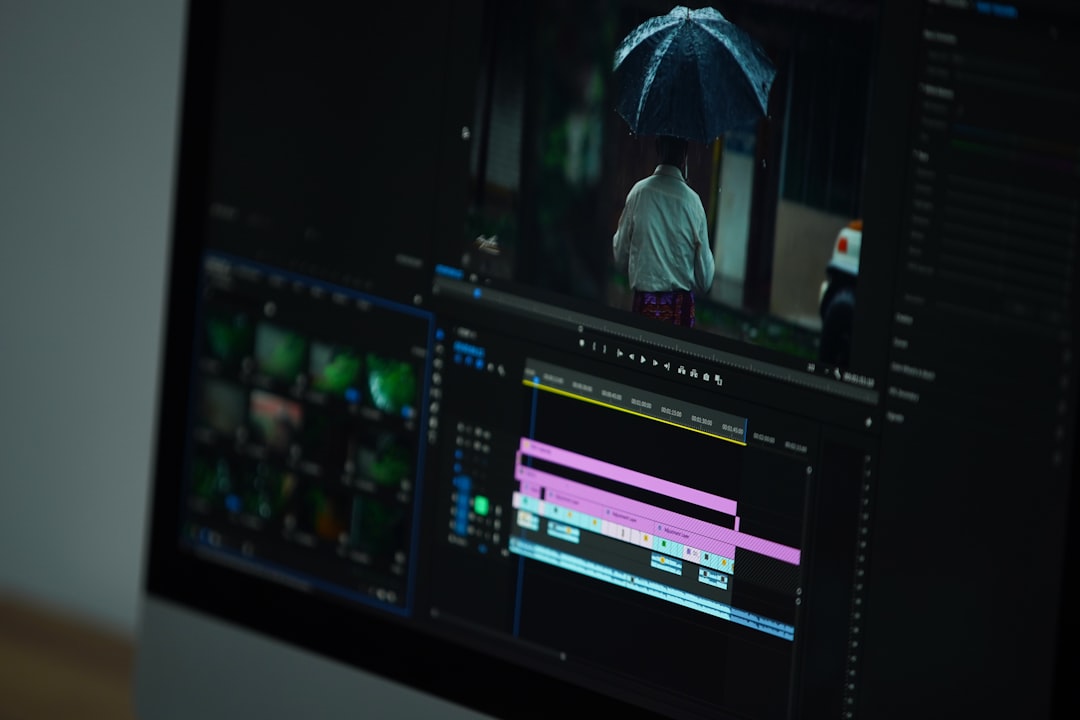
Before making any cuts, it’s essential to understand the Edit page timeline. This is where most clip splitting occurs in DaVinci Resolve.
The timeline consists of multiple tracks—video tracks above and audio tracks below. Clips placed here can be manipulated independently or together depending on your settings.
Key elements to recognize:
- Playhead – Indicates the current frame position.
- Track headers – Allow locking, muting, or targeting tracks.
- Snapping tool – Helps align cuts with markers or clip edges.
- Linked selection toggle – Determines whether audio and video split together.
Professionals often enable snapping for precision but disable it temporarily for micro-adjustments.
Method 1: Using the Blade Tool
The Blade tool is the most recognizable way to split clips. It allows direct manual cutting at specific points.
Steps to Use the Blade Tool
- Select the Blade tool from the toolbar (or press B).
- Move to the desired frame using the playhead.
- Click on the clip where you want the split.
- Return to Selection mode by pressing A.
This method provides visual precision and works well when cutting at visible transitions or action points.
Pro Tip: Zoom into the timeline using the slider or keyboard shortcuts to ensure frame-accurate cuts, especially when working with dialogue or music beats.
Method 2: Keyboard Shortcut for Faster Workflow
Efficiency defines professional editing. Instead of manually selecting the Blade tool, most experienced editors use the keyboard shortcut:
Ctrl + B (Windows) or Cmd + B (Mac)
This command splits the selected clip at the playhead instantly.
Why Professionals Prefer Shortcuts
- Speeds up repetitive edits.
- Maintains workflow momentum.
- Reduces tool switching errors.
To use this effectively:
- Select the clip.
- Position the playhead precisely.
- Press the shortcut.
The cut occurs without changing tools, preserving focus and speed.
Method 3: Splitting All Clips Across Multiple Tracks
Sometimes you need to cut multiple clips at the same timeline position—such as during a multicam edit or when adding transitions.
To split all targeted tracks:
- Ensure track targeting is enabled on desired tracks.
- Place the playhead at the intended cut point.
- Press Ctrl + B / Cmd + B without selecting a specific clip.
DaVinci Resolve will slice every targeted clip aligned with the playhead.

Important: Carefully check which tracks are armed. Accidentally targeting unwanted tracks can create unnecessary cuts and complicate your timeline.
Splitting Audio and Video Independently
There are situations where you need to split only audio or only video. For instance, when adjusting dialogue timing while keeping video intact.
How to Separate Audio and Video
- Right-click the clip.
- Select Link Clips to disable linking.
- Split the desired portion.
Alternatively, hold Alt (Windows) or Option (Mac) while selecting just the audio or video portion before making the cut.
This technique is invaluable when creating J-cuts and L-cuts—editing styles where audio transitions happen before or after the corresponding video.
Using Blade Edit Mode for Continuous Cutting
Another advanced feature is Blade Edit Mode. Rather than making one cut at a time, you can move across the timeline continuously slicing clips.
Activate Blade mode by pressing B, then drag across clips to make multiple cuts rapidly.
This method is effective for:
- Rough cuts.
- Breaking down long interviews.
- Segmenting footage into manageable sections.
Afterward, switch back to the Selection tool to refine adjustments.
Precision Trimming After Splitting
Cutting is only the first step. Once a clip is split, refining the edges ensures seamless playback.
To trim effectively:
- Hover over a clip edge until the trim icon appears.
- Click and drag to adjust duration.
- Use comma and period keys for frame-by-frame trimming.
Ripple editing can be enabled to close gaps automatically when trimming. Without ripple mode, trimming may leave unwanted spaces in your timeline.
Avoiding Common Mistakes When Splitting Clips
Even experienced editors occasionally make errors. Being aware of these pitfalls will help maintain a clean workflow.
1. Cutting the Wrong Track
Always confirm track targeting before splitting.
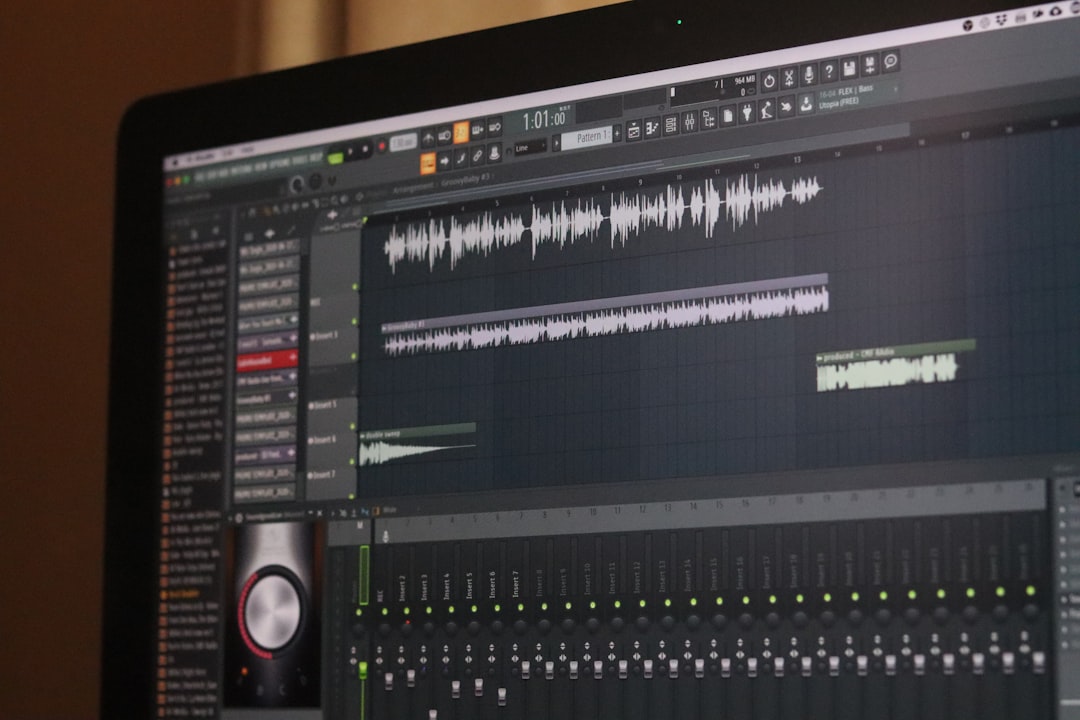
2. Ignoring Audio Pops
Splitting audio mid-waveform can introduce audible clicks. Zoom into waveforms and cut at natural zero-crossing points when possible.
3. Leaving Gaps in the Timeline
Use ripple delete (Shift + Delete) to close gaps cleanly.
4. Overcutting
Excessive cuts create cluttered timelines. Maintain organization by labeling tracks and grouping related clips.
Organizing Your Timeline After Multiple Cuts
Professional editors maintain discipline in complex projects. After splitting numerous clips:
- Delete unused segments immediately.
- Rename important clips.
- Color-code segments to distinguish scenes.
- Use markers to indicate significant edit points.
A structured timeline reduces confusion and accelerates further editing stages such as color grading and sound design.
Advanced Technique: Using the Cut Page for Speed
DaVinci Resolve also provides a Cut page, optimized for rapid editing. The Cut page allows quick playhead-based cuts by positioning and pressing the cut command without detailed track management.
This interface is particularly useful for:
- News edits.
- Event recap videos.
- Fast-turnaround projects.
However, for complex narrative projects, the Edit page offers greater flexibility and control.
Developing a Professional Cutting Workflow
Mastering clip splitting requires more than technical knowledge. It demands rhythm, foresight, and consistency.
Professional workflow habits include:
- Review before cutting – Watch footage fully to understand context.
- Cut on movement – Natural action hides transitions.
- Follow audio cues – Dialogue and music guide pacing.
- Edit in passes – Rough cut first, refine later.
Rather than obsessing over perfection on the first pass, focus on assembly, then refine through progressive tightening.
Why Precision Matters in High-Level Editing
When editing professionally—whether for commercial, cinematic, or corporate productions—precision defines credibility. Small inconsistencies in timing, audio sync, or pacing can subtly undermine viewer trust.
A well-executed split is invisible. The audience should never notice the cut; they should only experience a seamless story.
By mastering clip splitting in DaVinci Resolve, you build the technical foundation necessary for advanced transitions, effects, and narrative control.
Conclusion
Splitting clips in DaVinci Resolve is far more than a mechanical action—it is a core discipline in professional video editing. From mastering keyboard shortcuts to carefully managing track targeting and refining trims, each step contributes to cleaner edits and stronger storytelling.
By combining precision tools, efficient shortcuts, audio awareness, and structured organization, you elevate your workflow from basic cutting to true editorial craftsmanship. With practice, these techniques become second nature—and that is when your edits begin to look and feel truly professional.